Installing PiNet
Now you have an Ubuntu 18.04 server setup, it is time to actually install PiNet. PiNet is run through a terminal. This allows you use it locally or even run the software over SSH! Lets get started!
-
Once the machine reboots, login with your credentials you set up earlier.

-
Select the search button in the top left corner.
-
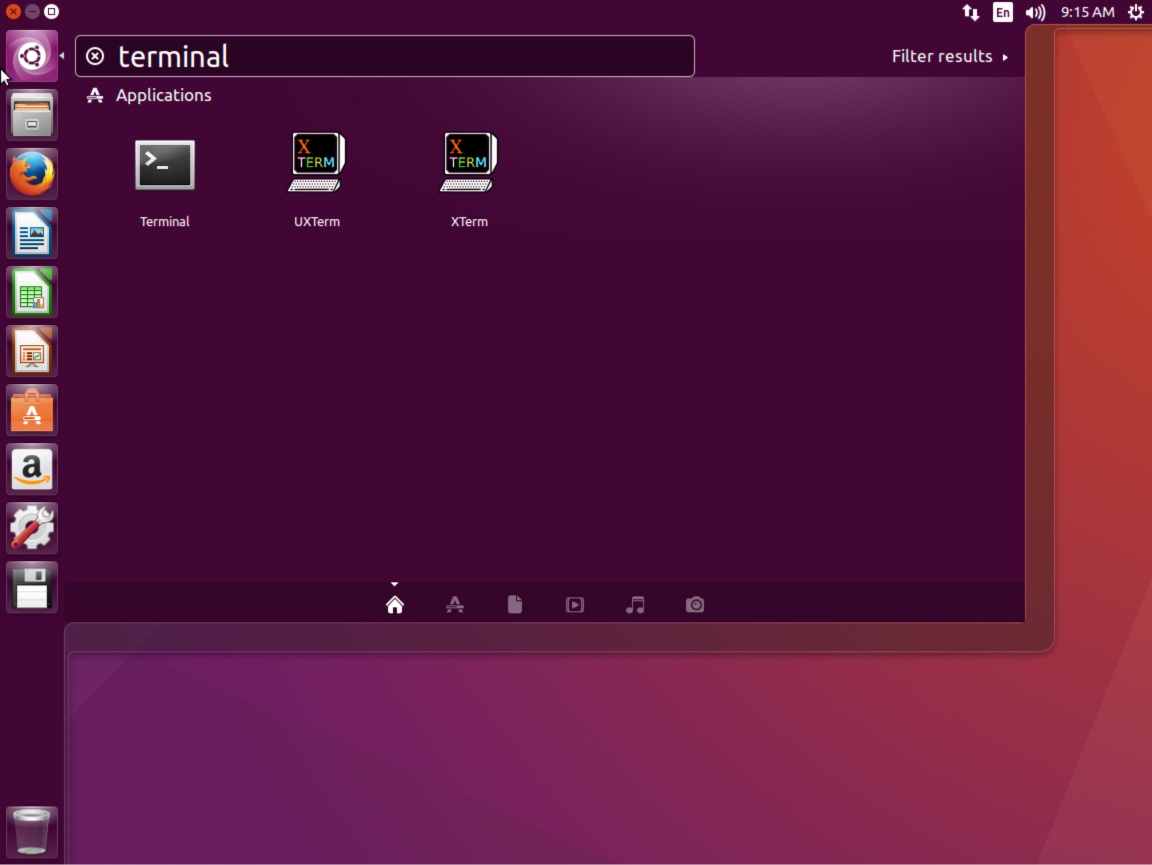
Search for and select “Terminal”. You can also just hit Ctrl + Alt + T.
-
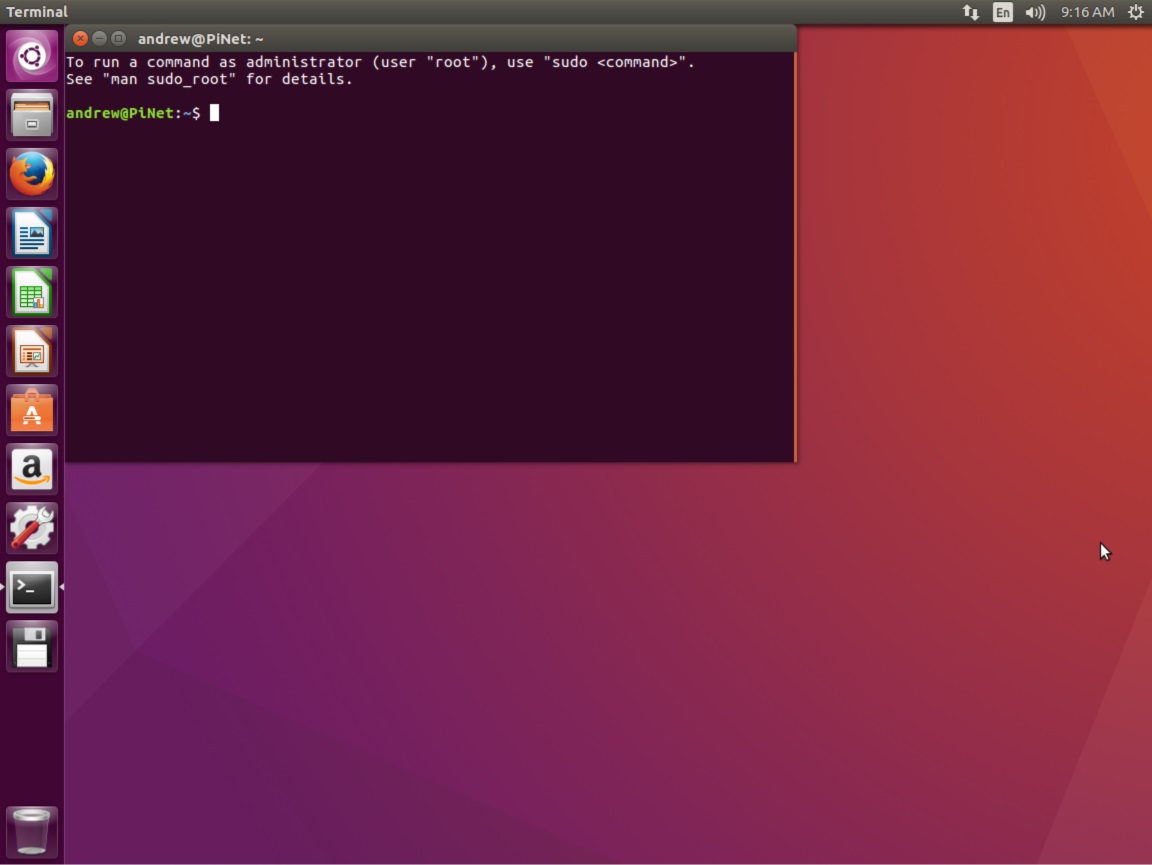
You will then be presented with a terminal. PiNet runs inside a terminal window. You may find it useful to resize the terminal window to make it larger or put it in full screen.
-
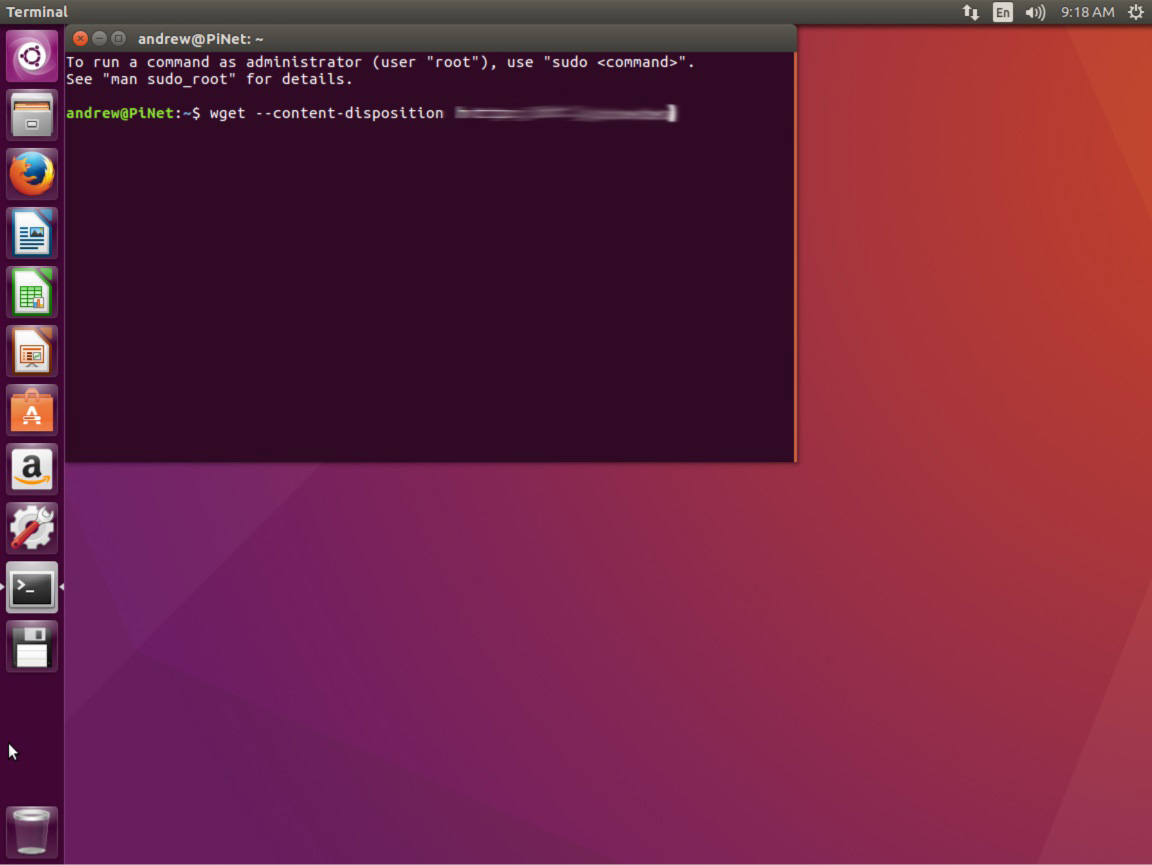
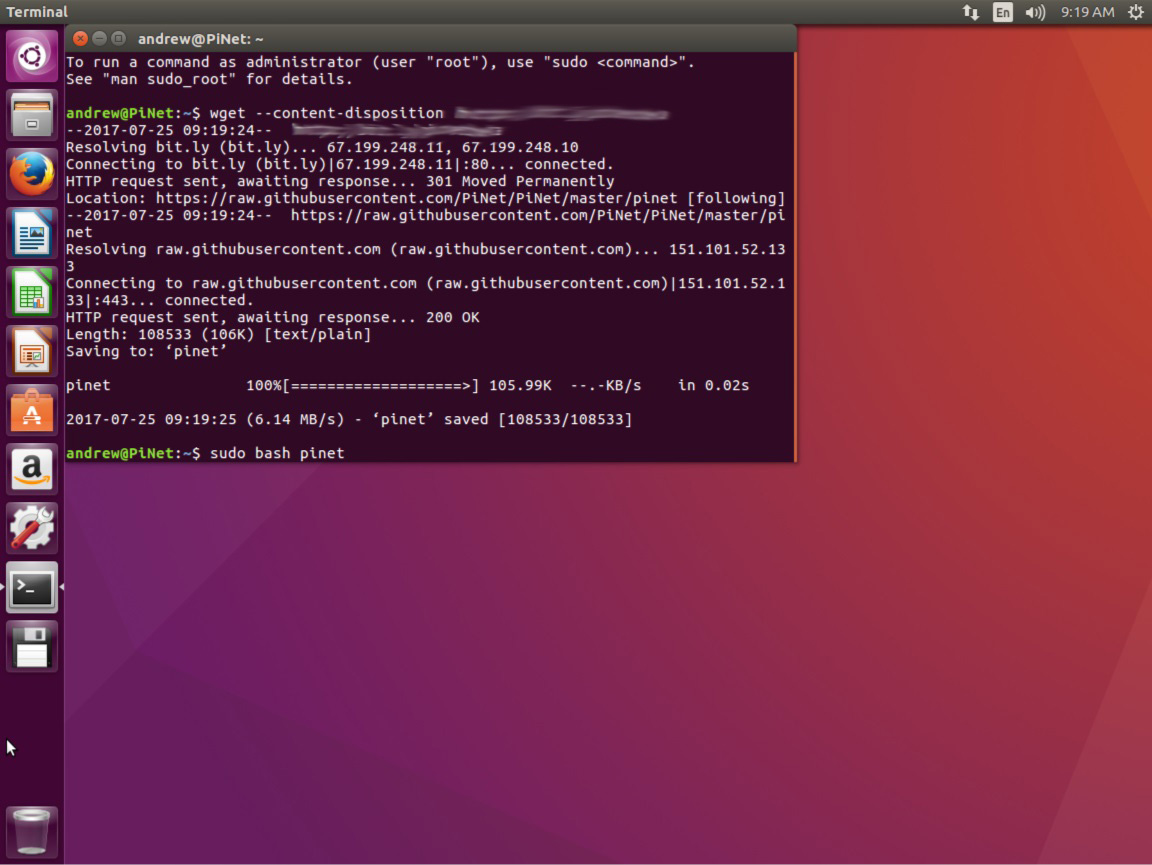
To install PiNet Jessie (Stable), enter
wget --content-disposition http://links.pinet.org.uk/jessie-stable-pinetand hit enter. This downloads the PiNet script. The main script is calledpinet.PiNet Jessie - Note that PiNet Jessie is now recommended over PiNet Wheezy (version 1.1.9 and below). PiNet Wheezy support will end at the end of 2017.For details over other PiNet versions, see here.
-
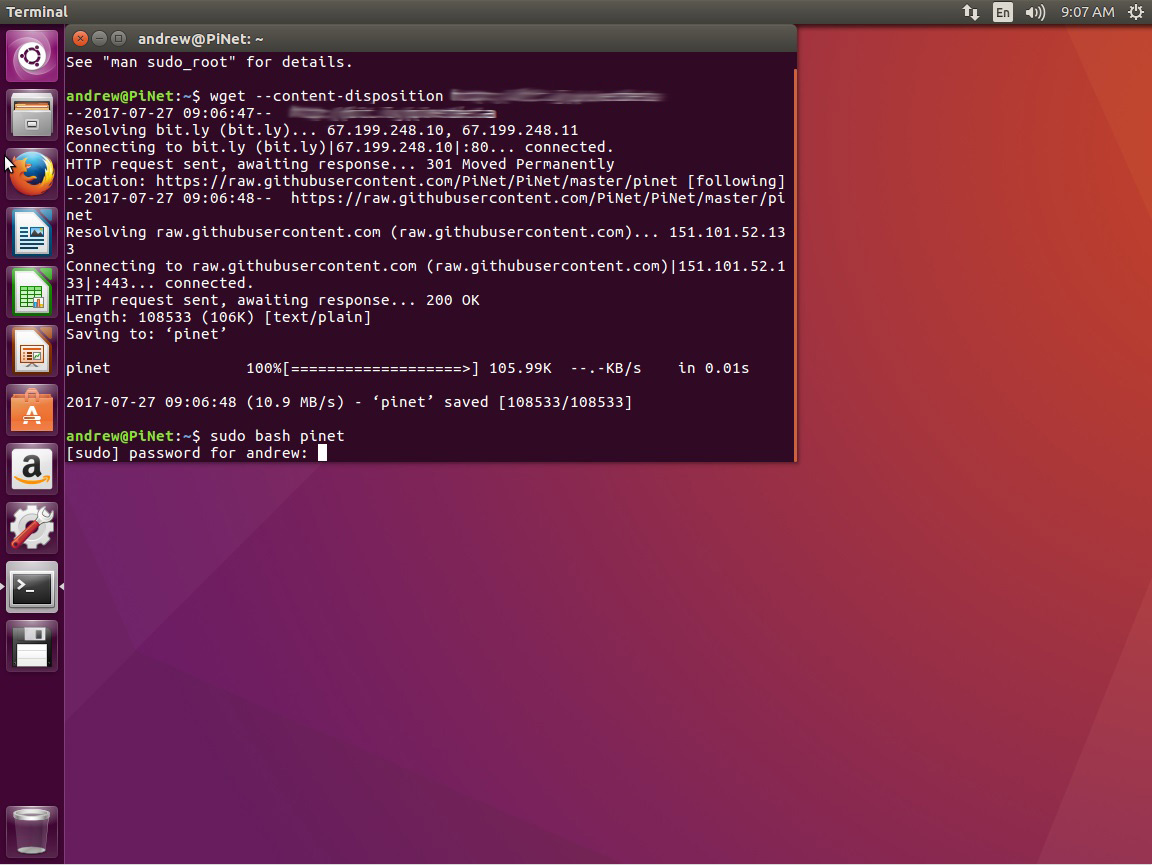
Once that completes, enter
sudo bash pinetwhich will launch PiNet. A desktop icon will be created when the software installs but you can always use this command to manually launch PiNet.
-
Enter your password as the application must be run as administrator (nothing will look like it is being entered, this is a Linux security feature so don’t worry, it is being entered).
-
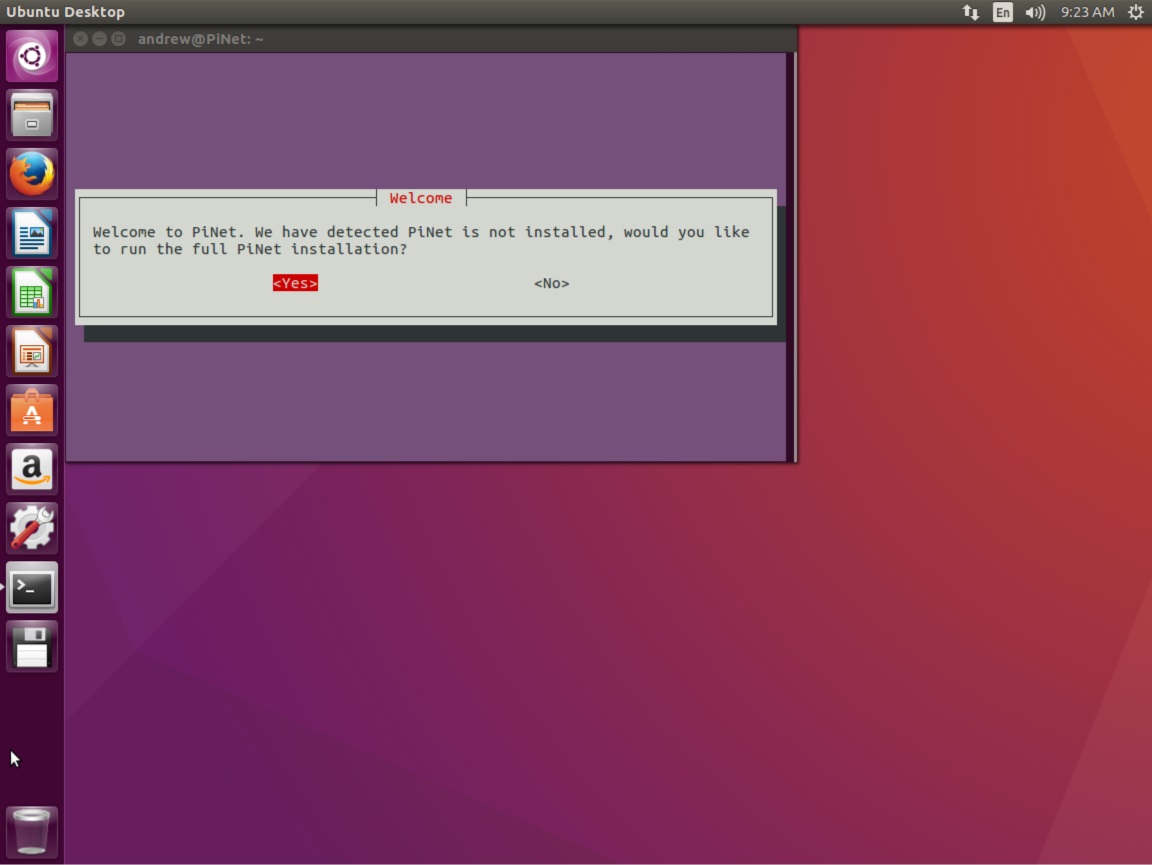
PiNet will offer to run a full install, select yes.
-
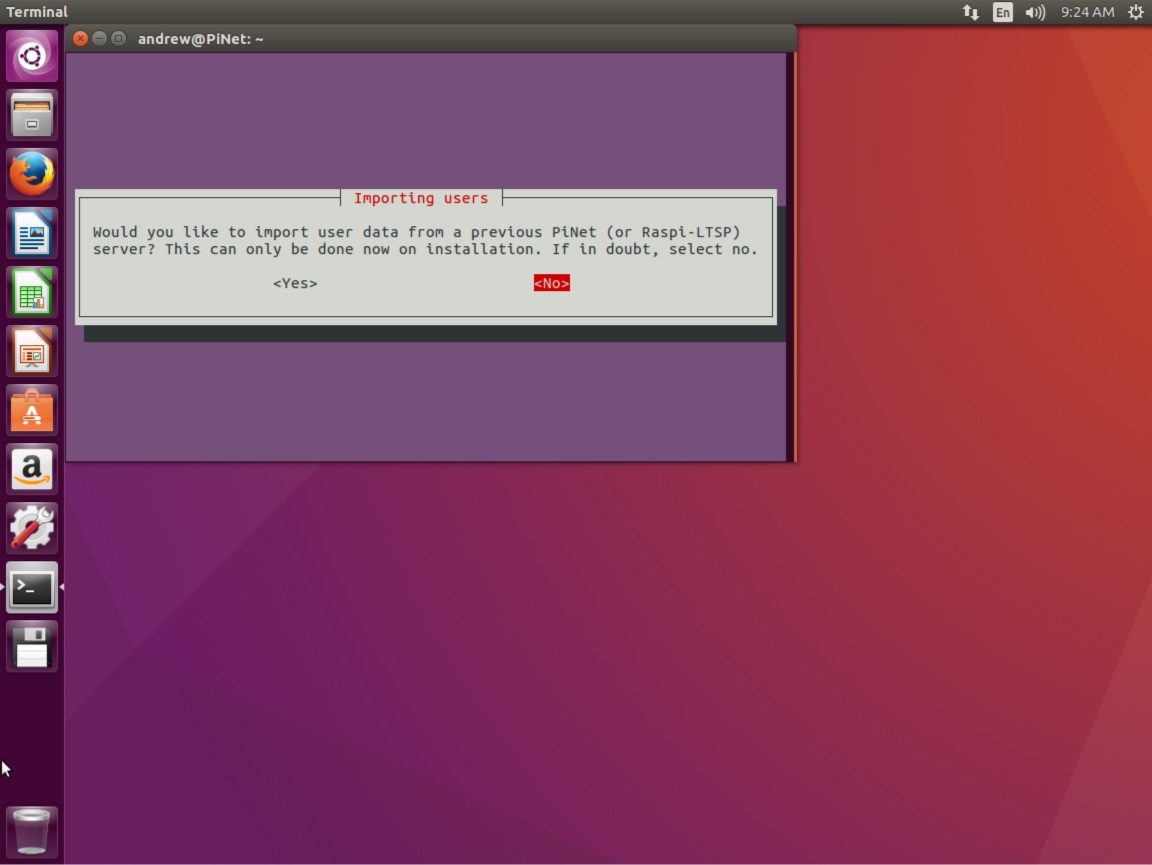
PiNet supports importing user data from an older PiNet server. See the migration guide for details. Select No.
-
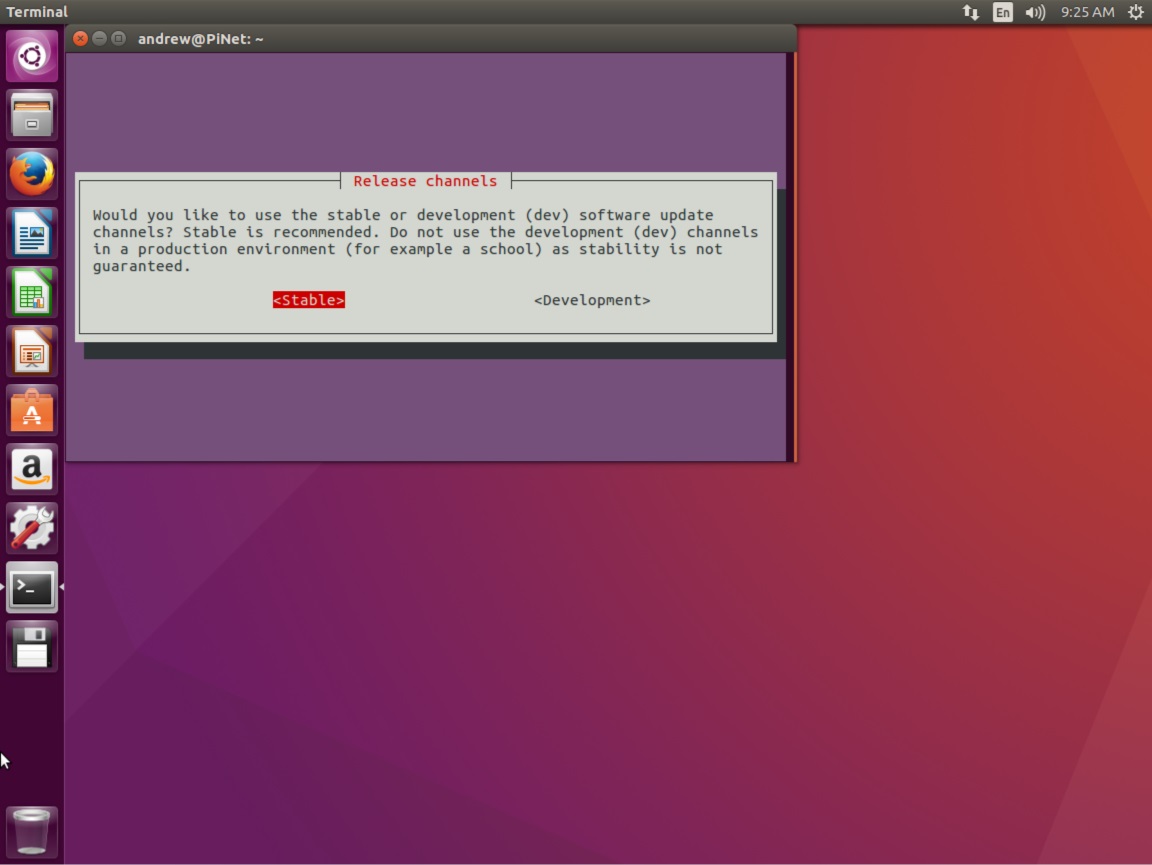
Select which release channel you wish to use. If using in a production environment, it is recommended you select Stable. If you wish to test out new bleeding edge features, select Development.
-
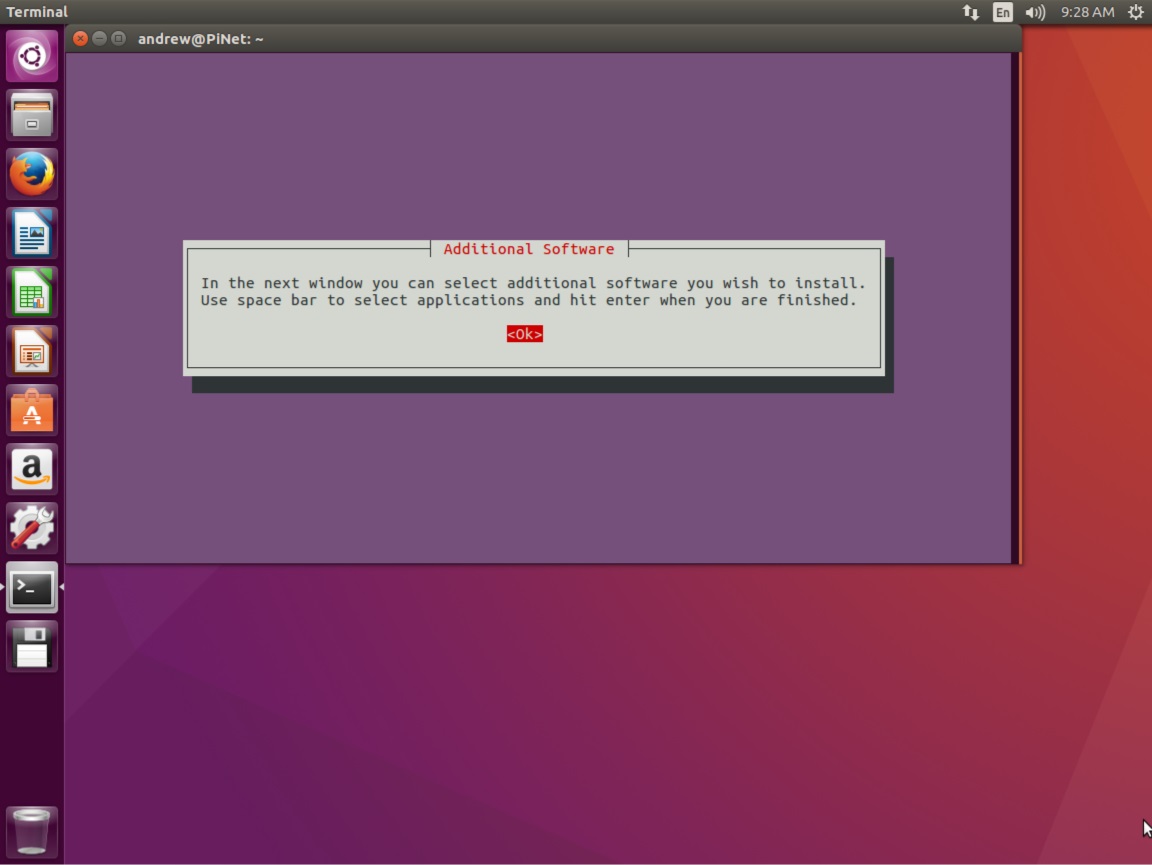
Select Ok to continue after reading how to select additional software.
-
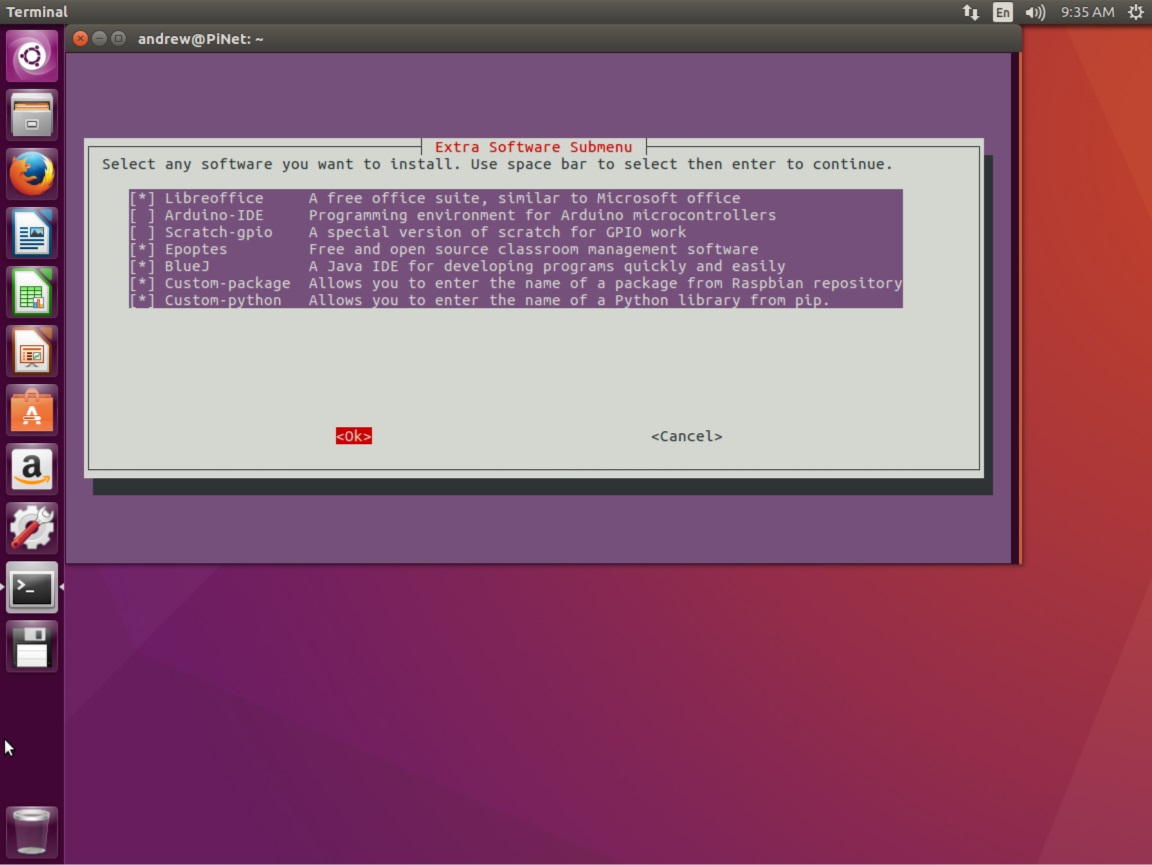
Select any extra software you wish to include.
( Screenshot shows several non-default selections)
-
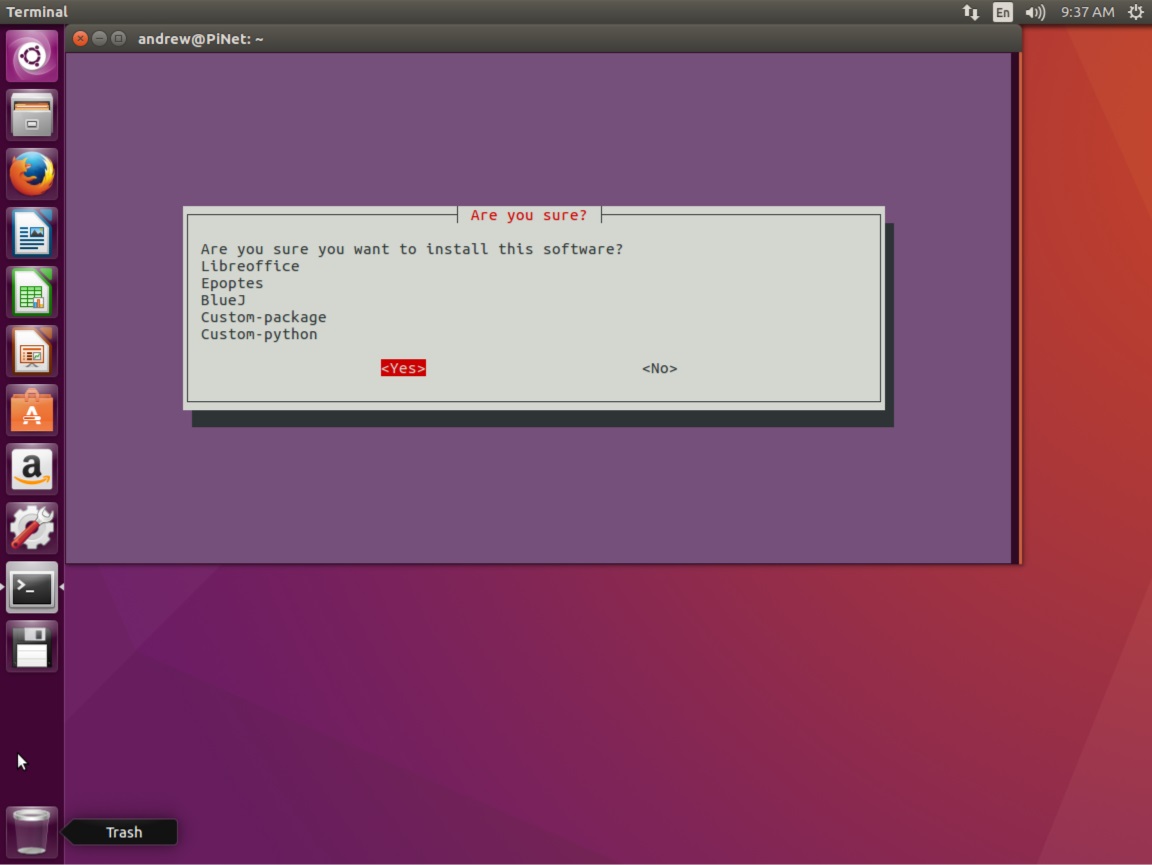
If extra software specified, select Yes to confirm
-
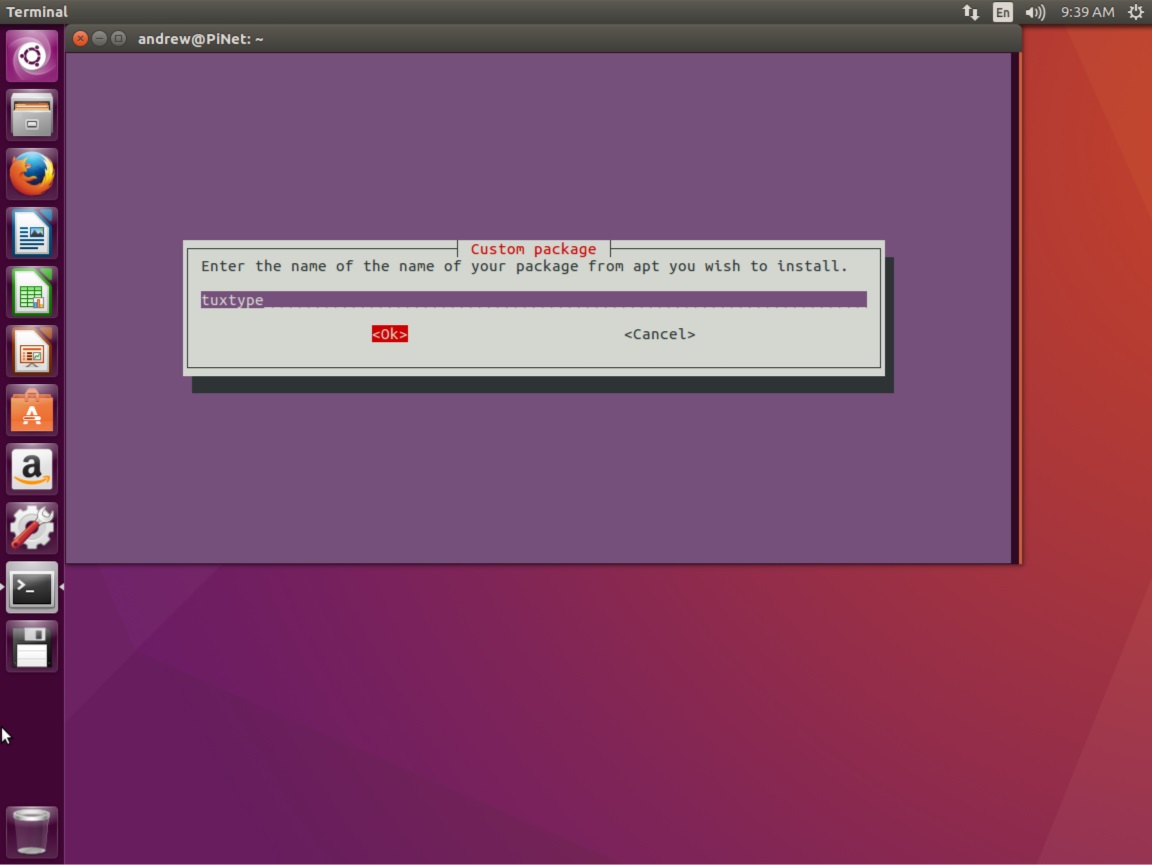
If extra software ‘Custom-package’ selected, enter package name.
-
If extra software ‘Custom-python’ selected, enter package name.

-
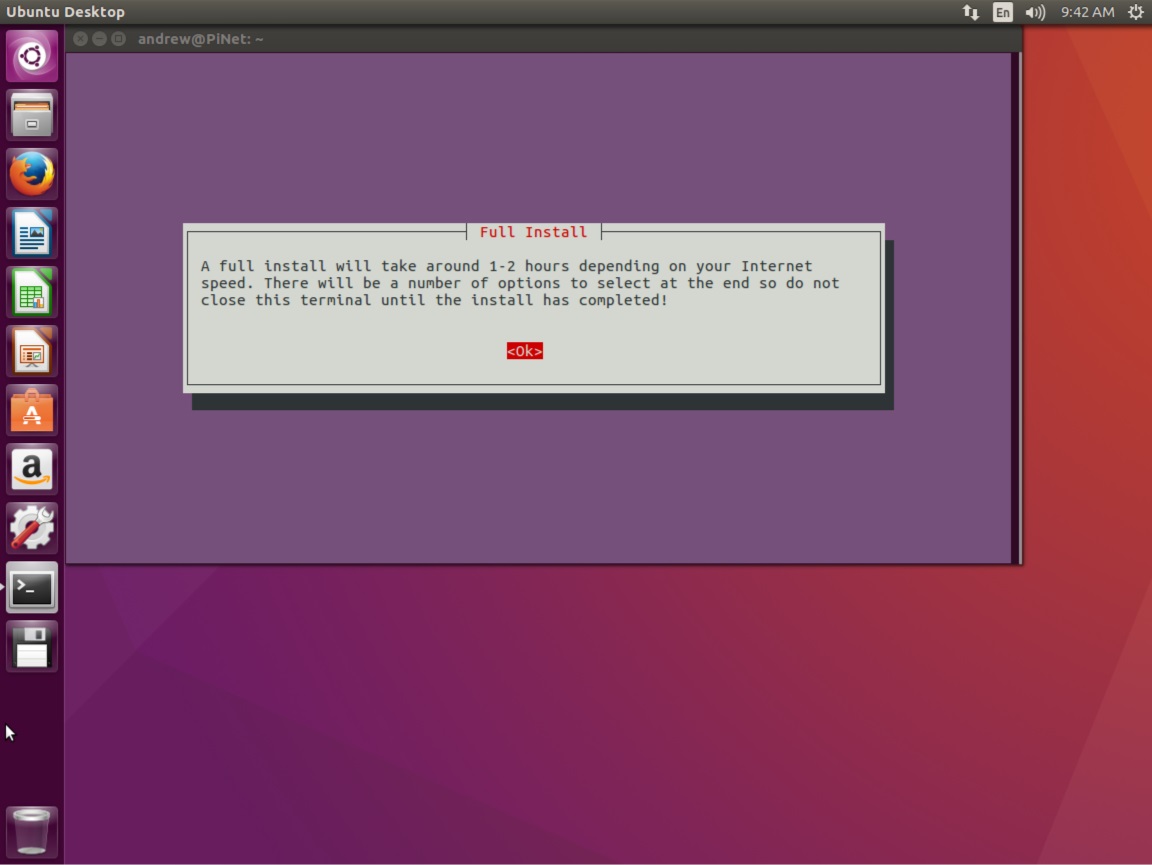
The install will take roughly 1-2 hours depending on processor speed and internet speed. Select ok and it will start the installation. You can now leave it to work.
-
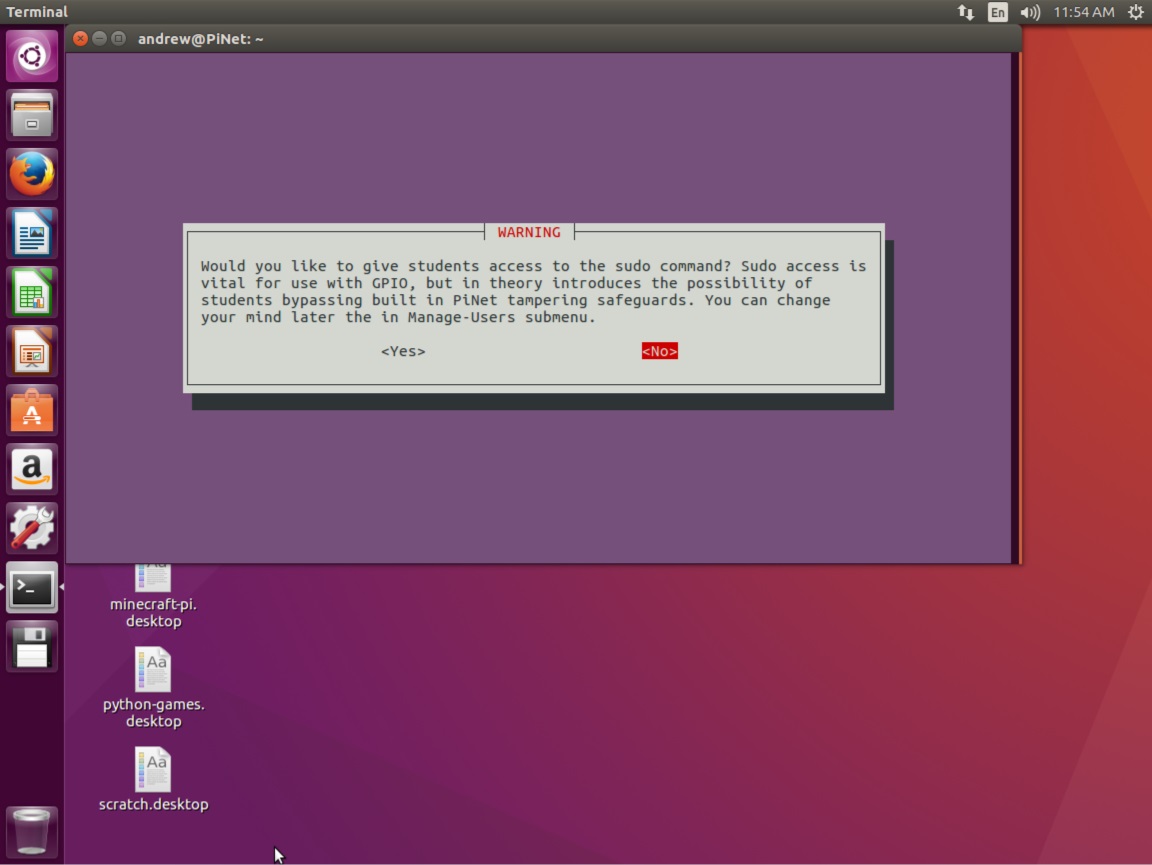
After 1-2 hours, select choice whether to give students Sudo access on the Raspberry Pi. If you intend to work with the GPIO pins on the Raspberry Pi they will need it. You can really easily later enable or disable Sudo use in the Manage-Users submenu in the main software options. If in doubt, is recommended to enable it by selecting yes.
-
If using 2 network interface cards then check the IP address is correct. If you are only using 1 (most people), then the default will likely be correct. Select yes.

-
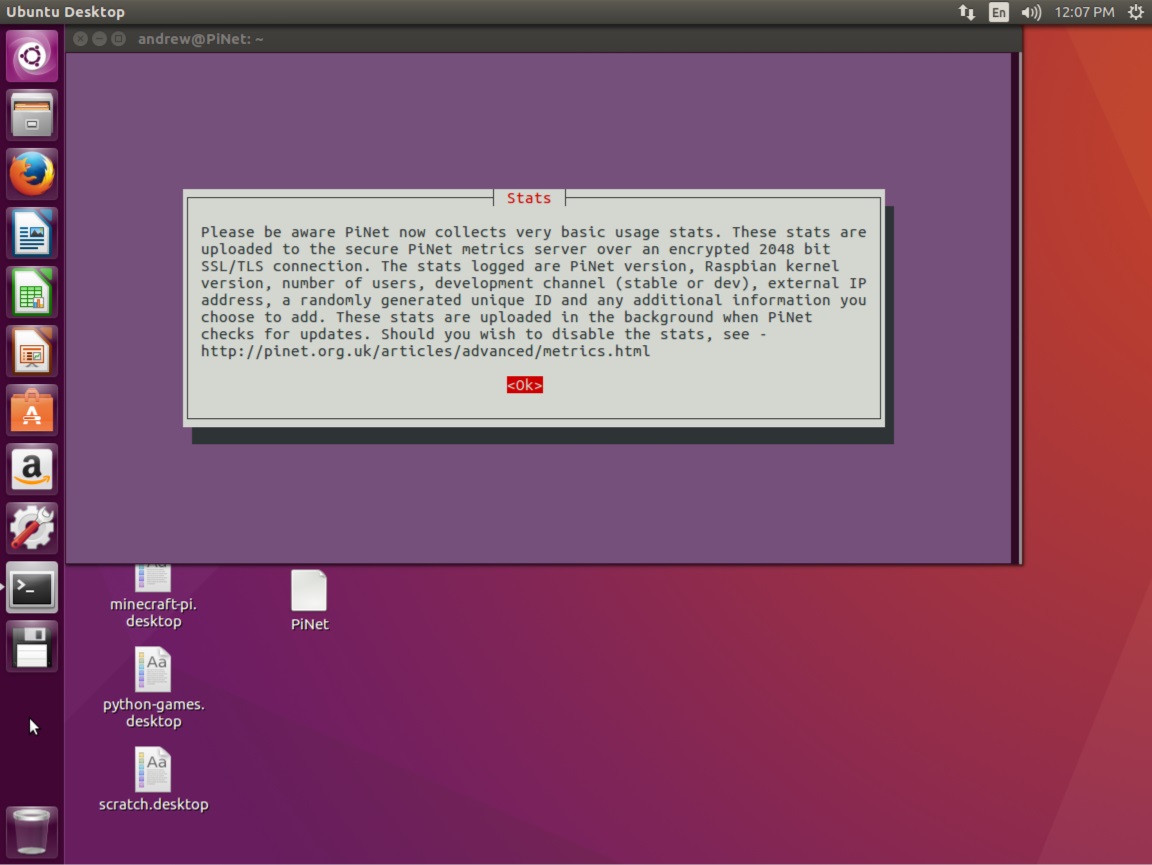
Select OK after reading notice about collected statistics.
-
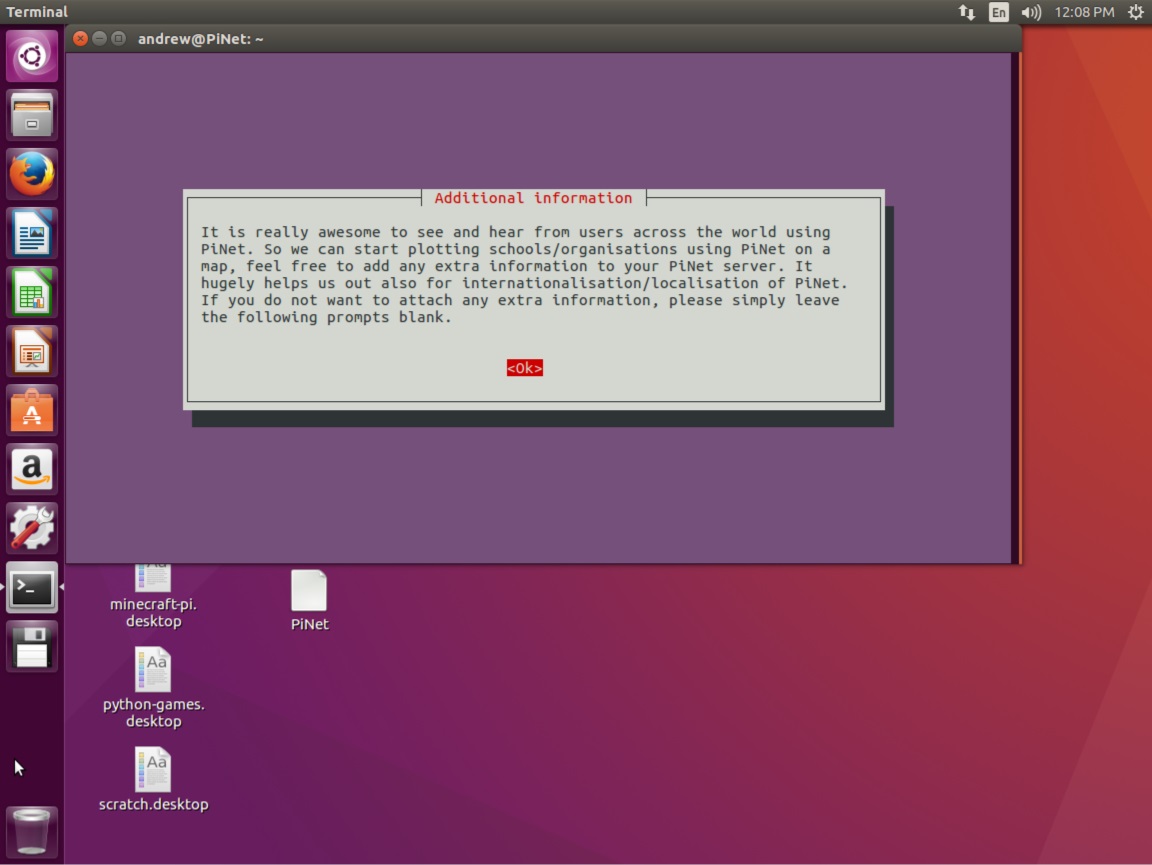
Select OK after reading notice about additional information.
-
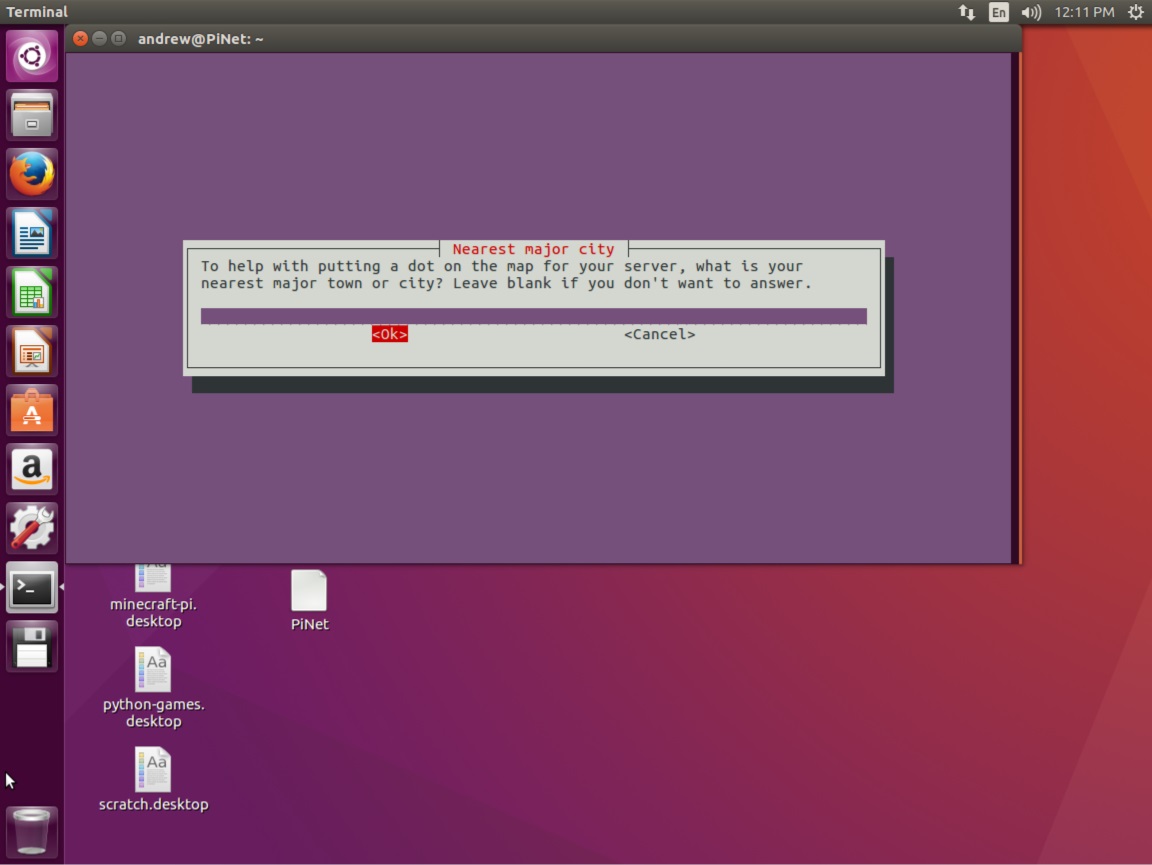
(Optional) Select OK after entering nearest major city.
-
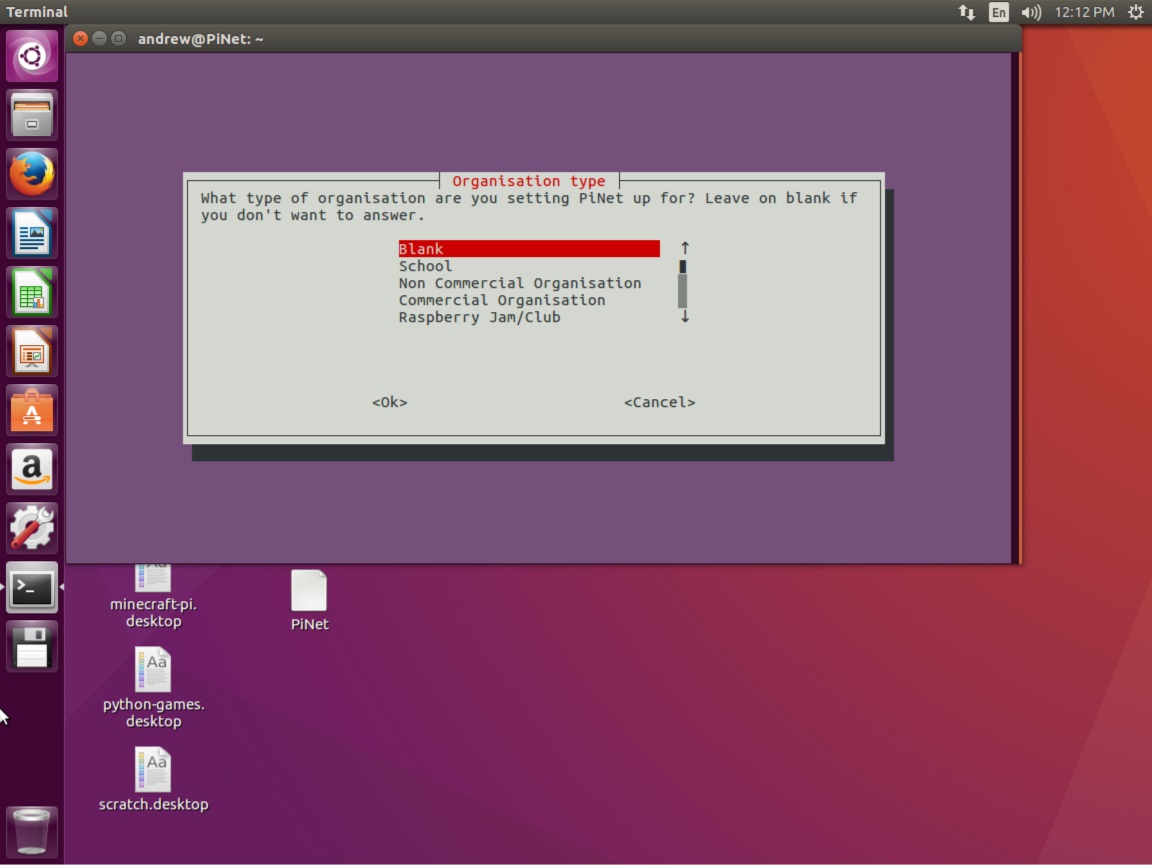
(Optional) Select OK after entering organisation type.
-
(Optional) Select OK after entering school/organisation name.

-
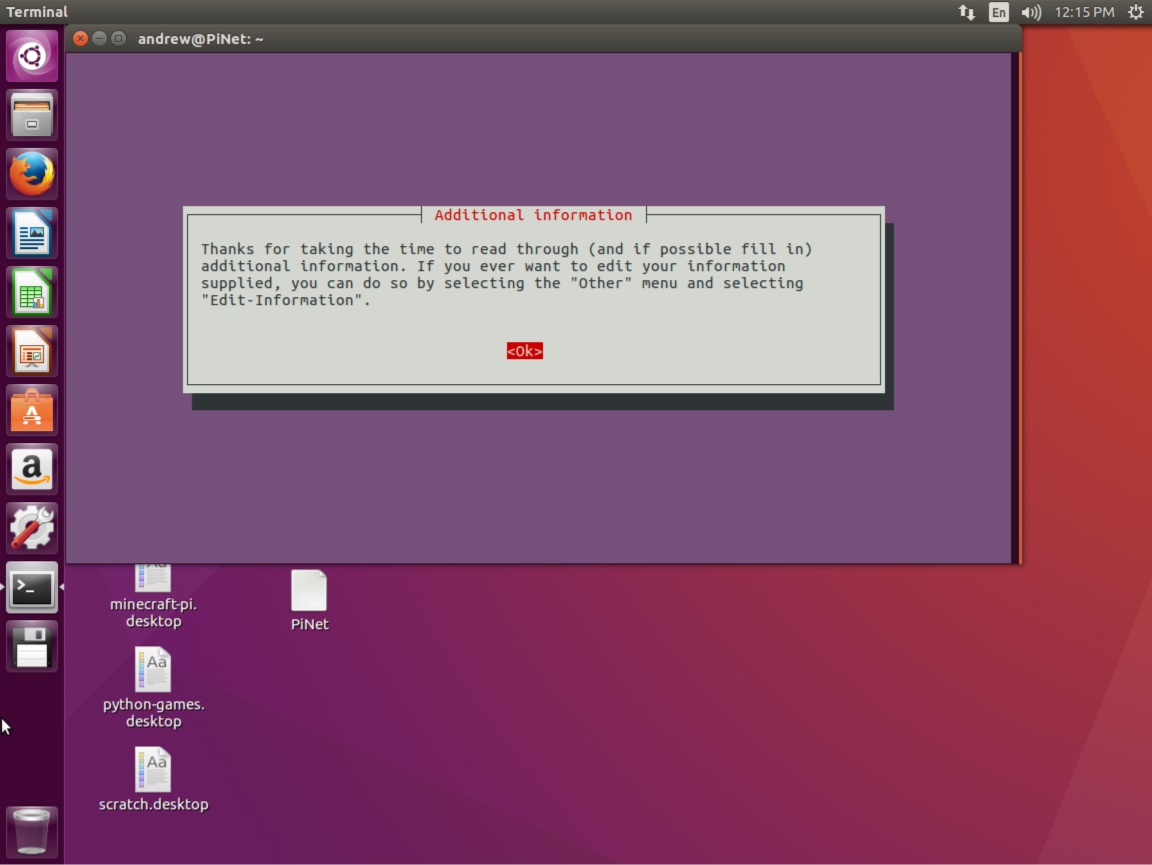
Select OK after reading how to edit additional information.
-
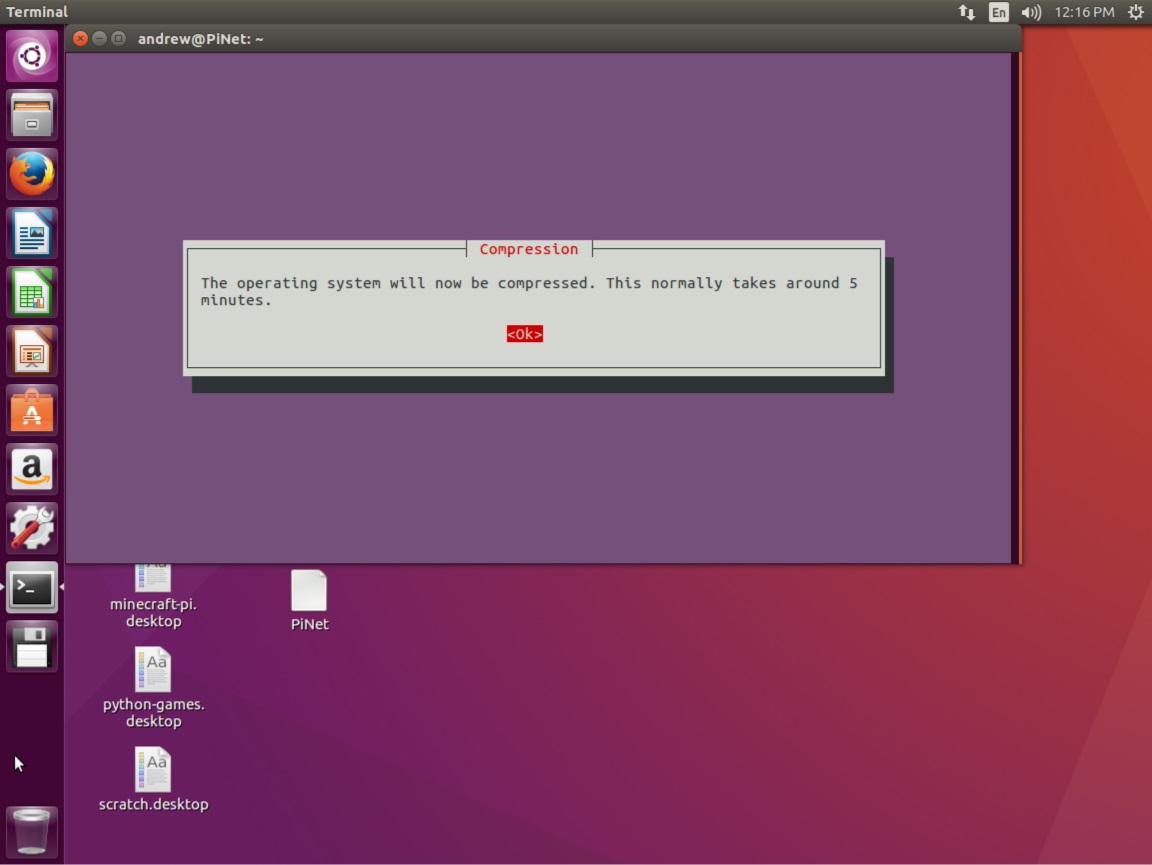
The operating system will now be compressed. After every change made to the operating system, it must be recompressed which takes roughly 5 minutes normally. Select ok.
-
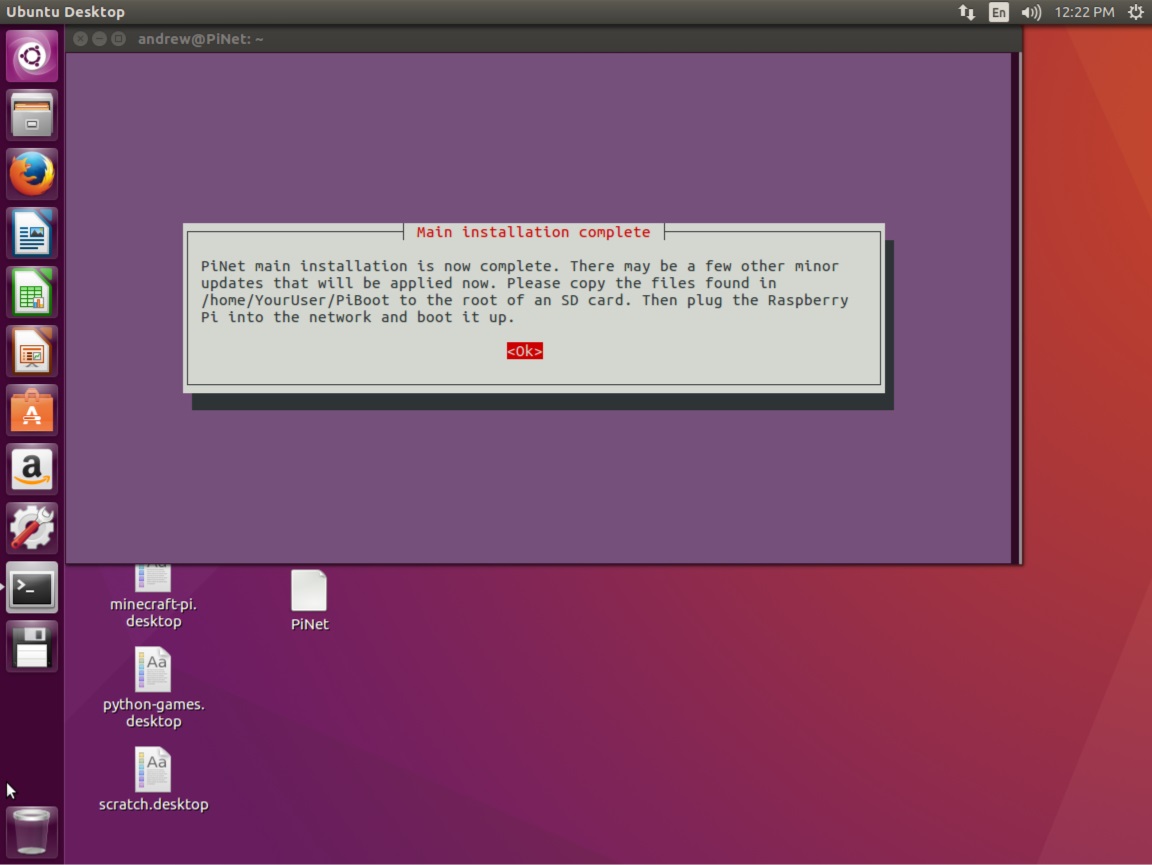
PiNet installation is now complete. The server has generated an SD card image which is located in /home/YourUser/piboot. You need to copy these files onto a blank formatted SD card and connect the Raspberry Pi to the network.
-
You are recommended to check the Backup section of this manual on setting up an automatic backup of your students work to an external hard drive in case of hard drive failure.
Copying to SD card
Now that you have installed PiNet, you need to copy the boot files to an SD card.